


Lofts and attics can be particularly tricky areas to clear out for a number of reasons, from the lack of lighting to unstable flooring, not to mention the distance between your loft hatch and the landing floor. For this reason, loft clearances tend to be overlooked by many. But did you know, according to the Nationwide Building Society, loft conversions can increase the value of your home by up to 20%?
Whether you’re looking to transform your loft space into a beautiful new living area or simply want to declutter and free up some space, this step-by-step guide is here to help you.
Before You Start
Before getting started with your loft clearance, you will need a few essential tools, as well as safety considerations you should be aware of.
Essential Tools
- A step ladder
- Sturdy gloves
- Dust mask
- Boxes and containers
- Bin bags
Safety Measures
- Create clear pathways to, from, and within your loft space
- Ensure proper lighting
- Take care with heavy items
- Ensure the loft floor is stable before walking on it
- Consider asking someone for help
A Step-by-Step Decluttering Process
Now, let’s break down how to carry out your loft clearance step by step.
Step One: Planning and Assessment
Before starting, have a good look at your loft space to see what’s there and identify how much space you have. Have a quick look at the belongings being stored in your loft and get a rough idea of how much you want to keep and how much you want to dispose of.
Next, decide what you want to achieve with your loft clearance. Are you looking to make more space and keep it as a storage area, or are you planning a full clearout so that you can transform your loft into a new living space?
Step Two: Sorting and Categorising
Now it’s time to start sorting things out! Make four piles: things you want to keep, things you want to donate, things that can be recycled, and things that need to be thrown away.
It might be tough trying to decide what goes where. Take it one step at a time, thinking about whether or not you really need each item or whether it brings you joy. If the answer is no to both of those questions, perhaps it’s time to say goodbye.
 Step Three: Find Storage Solutions
 Step Three: Find Storage Solutions
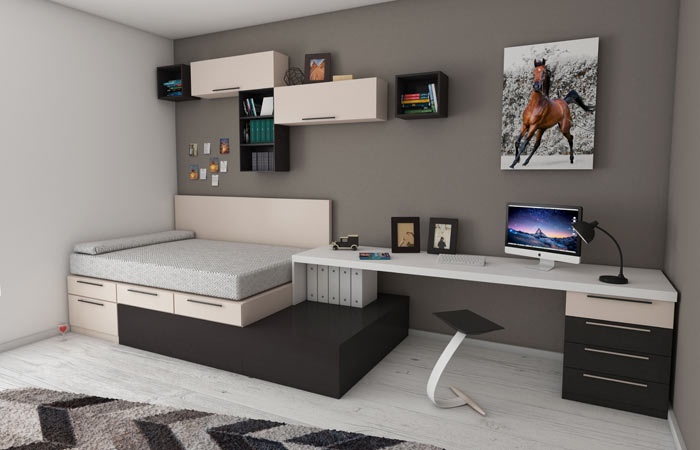
Once everything is sorted, it’s time to find spaces for the belongings you want to keep. Space-saving storage solutions like shelves, boxes, or storage containers can help you maximise space. You can also get creative, using vertical space by stacking things and storing smaller items inside larger ones.
Step Four: Dispose of Unwanted Items
How you go about disposing of unwanted items will depend on the type and condition of the things you are throwing away. Items that are in good condition can and should be taken to charity shops or other local organisations that accept donations. Recyclable items should be taken to your local recycling centre, where general waste can often be disposed of, too.
If you have any hazardous materials, be sure to check with your local council to find out about hazardous waste disposal options and regulations. This type of waste must be dealt with properly to avoid fines and negative environmental impacts.
Hiring a Private Waste Removal Company
Getting in touch with a private waste removal company to assist you with your loft clearance is a great option for saving both time and hassle. Loft spaces are tricky to access, but a professional company has both the tools and the skills to execute this task quickly and efficiently. They will handle the removal of waste from your property, taking it to suitable locations to be reused, recycled, or disposed of.
Summary
Decluttering your loft can feel like a daunting task, but by following this guide and enlisting the help of a private waste removal company where necessary, you can get the job done in just a few simple steps.
Once you’ve cleared out your loft, you’ll reap the benefits of having more space at your disposal to do whatever you like.